Azure backup -Step-by-step deployment guide

This is the continuation of "Azure Backup – backup solution for SME", here we will see how to backup and recover data(file/folder) from/to a windows server.
High-level implementation plan:
- Prepare Azure Backup vault.
- Installing Azure Backup agent.
- Schedule the backup to Azure
- Recover data from Azure.
Step 1: Preparing Azure Backup Vault
To store data in the Azure data center, first, we need to create a backup vault where data will be stored by a backup agent as per the defined replication policies. During its creation, we should decide on geographic region and data replication method.
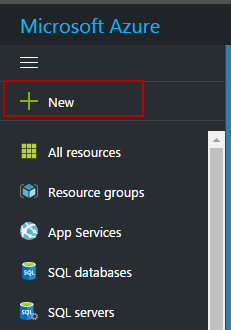
Search for OMS
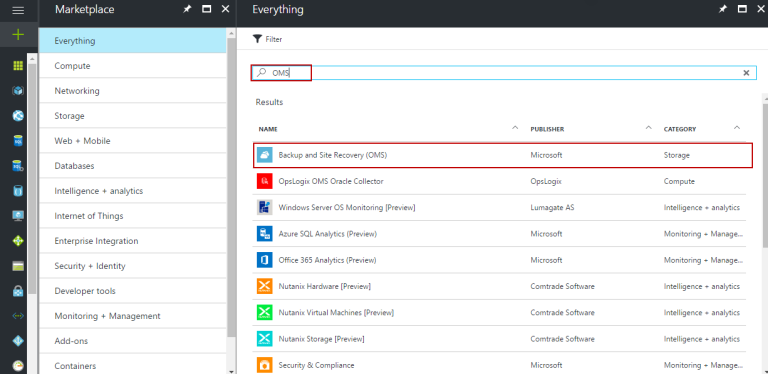
Click on Backup and Site Recovery (OMS)
Click on create button.
Provide backup vault name, resource group name, and region name. You will be shown below on the dashboard. Here AUBNBckupVault is the name of the recovery vault.
Step 2: Installing Azure Backup agent
To get started, click on the backup vault that we created then click on Backup.
Prepare the backup goal as below.
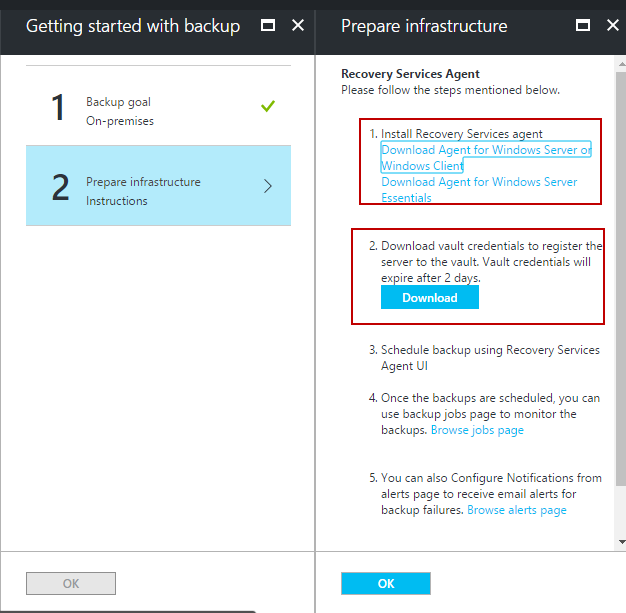
Prepare infrastructure instruction. Download agent and register credentials.
Install the agent on the target server. It is a very straightforward installation, after the installation of the agent, register to the Azure vault using the downloaded registration credential.
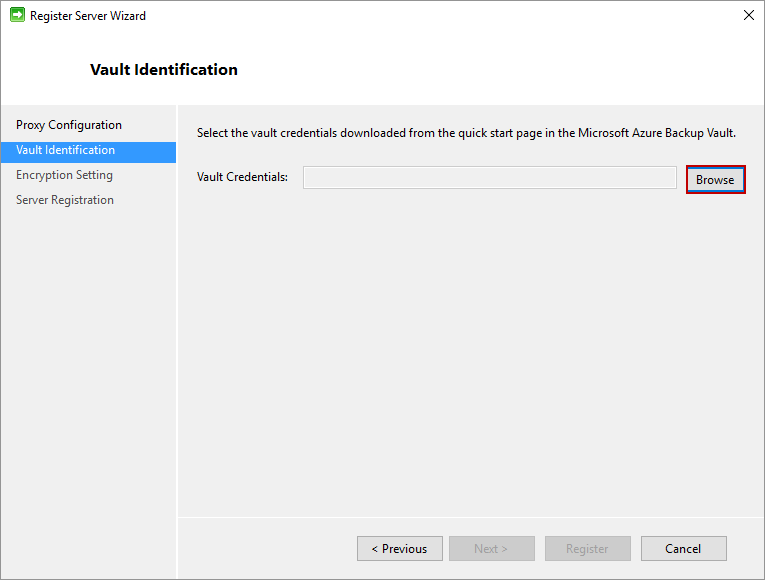
And complete the wizard. After registration to the backup vault, we need to schedule a backup.
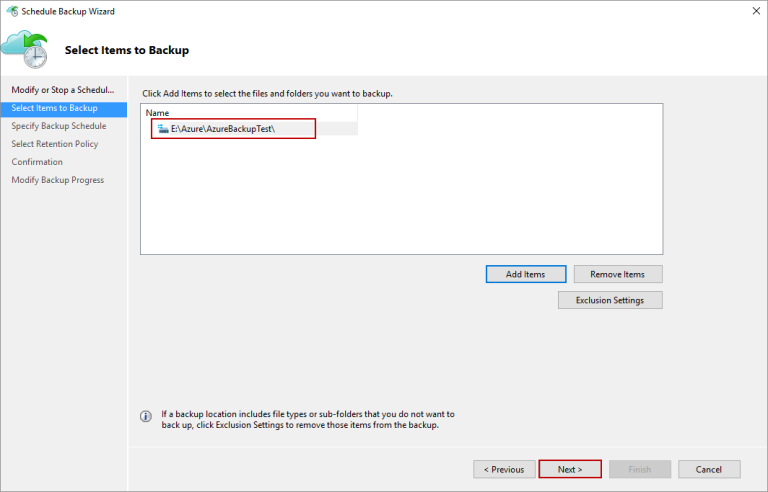
Step 3: Schedule the backup to Azure
On the Select Retention Policy page, we have some pretty flexible options for retaining our backed-up data for longer periods of time.
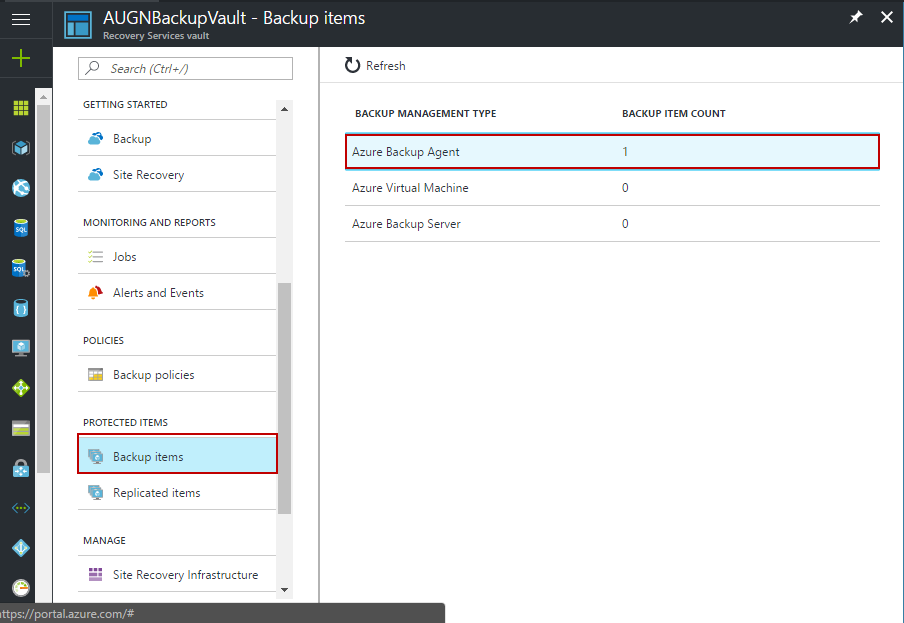
After the backup of data, verify on the Azure portal.
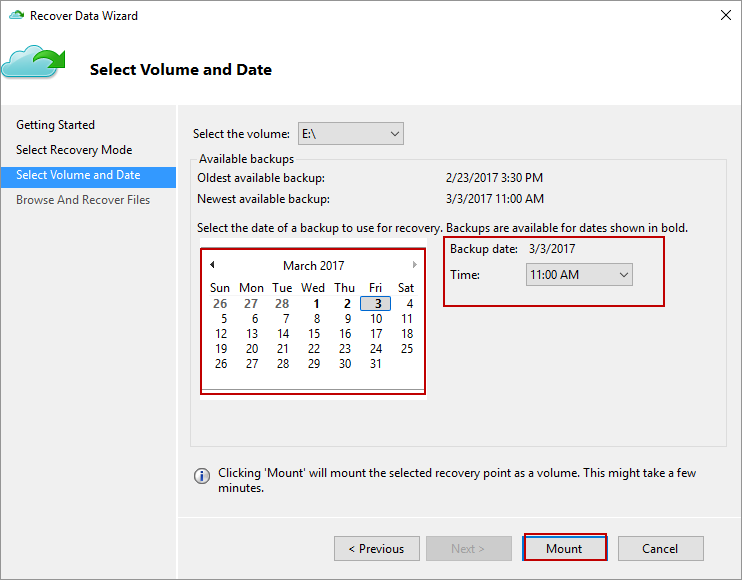
Step 4: Recover data from Azure
On the Select Volume and Date page, you use the drop-down to pick the volume from which your backup was taken, and then you’re presented with a calendar with some dates in bold representing points in time when you’ve completed past backups.
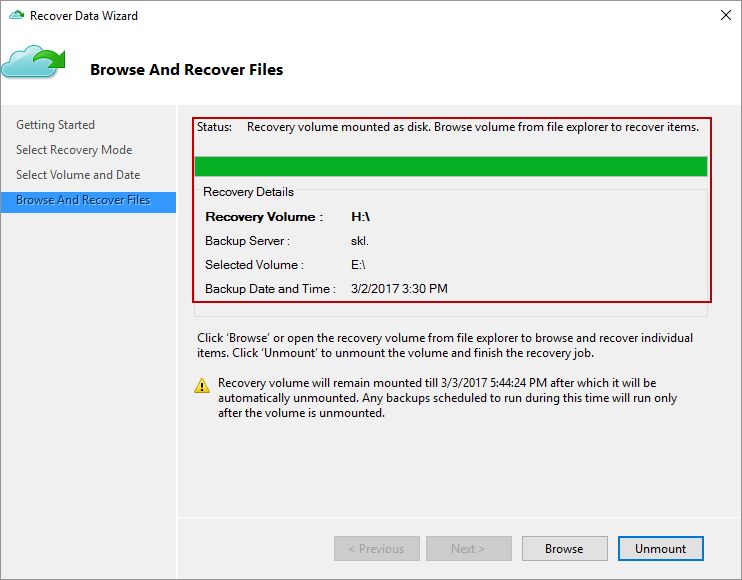
After this verify the data on the local server.