When to use App Service Environment (ASE) and how to setup

In this post, I will share why I started using the App Service Environment (ASE) and why I stopped using it.
Microsoft has two offerings for App service, multi-tenet and isolated. ASE is isolated and it is useful in many cases as below but I have used ASE to control the inbound and outbound traffic application. In multi-tenant app service, the web app uses different outbound and inbound interfaces and that's why it has different inbound and outbound IPs. Outbound IP cannot be static, it can change at the time of scale-up/down or scale-out/in.
- Need static outbound IP.
- Isolated and secure access.
- High memory utilization.
I have used ASE due to the static outbound IP. Other features are not much important as the outbound IP. One of my application talk to third party service and that third party service need to white list the outbound IP of web app. Whenever the outbound IP of web app got changed (at the time of scale-up/down and scale in/out) then third party service does not allow the web app to talk and due to this, there is a disruption in overall service. It is very challenging
Then we decided to go for ASE as the web app does not fulfill the business requirement.
How to setup ASE
1. Click on All Services and search for App Service Environment.

2. Click on the Add button.

3. Provide all the parameters.
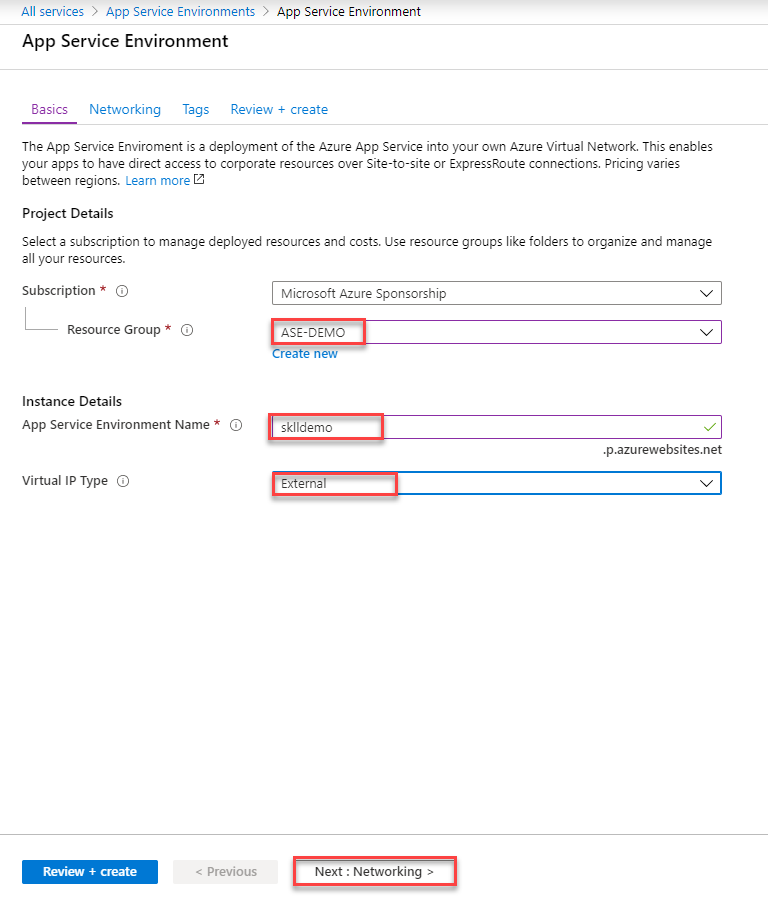
4. Provide networking details, the subnet must be the empty subnet.
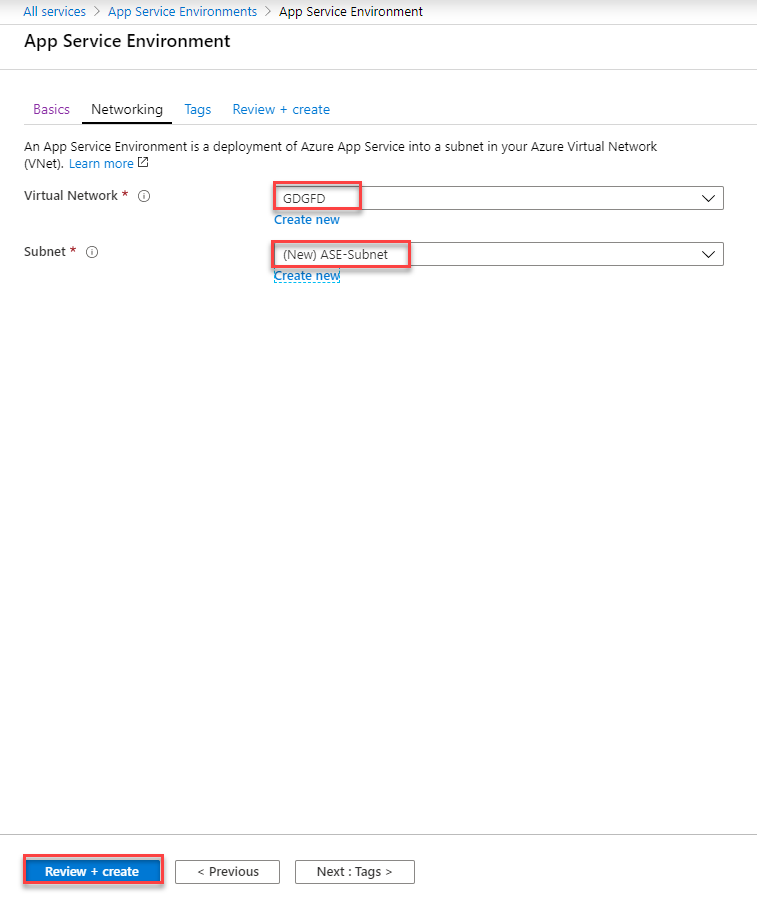
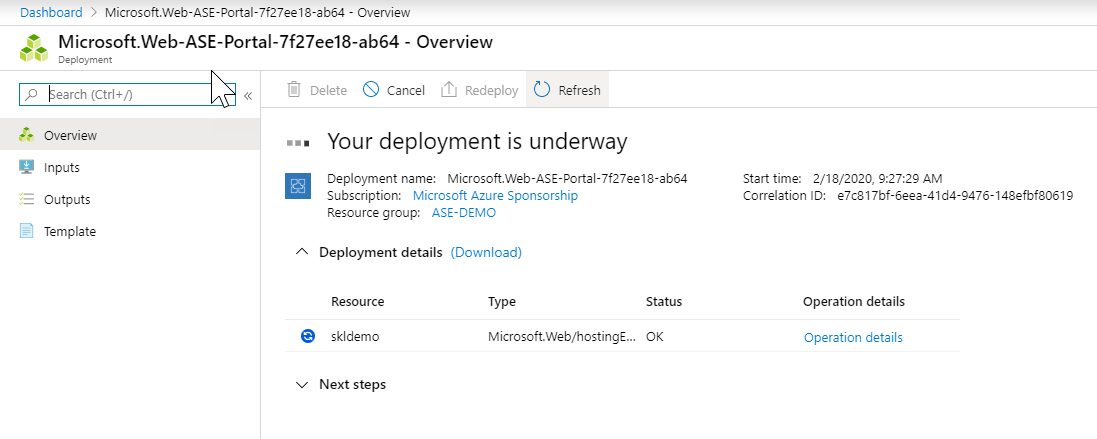
5. It will take around an hour to prepare the environment.
6. Your ASE will look like this, you will get the same IP for both inbound and outbound traffic.
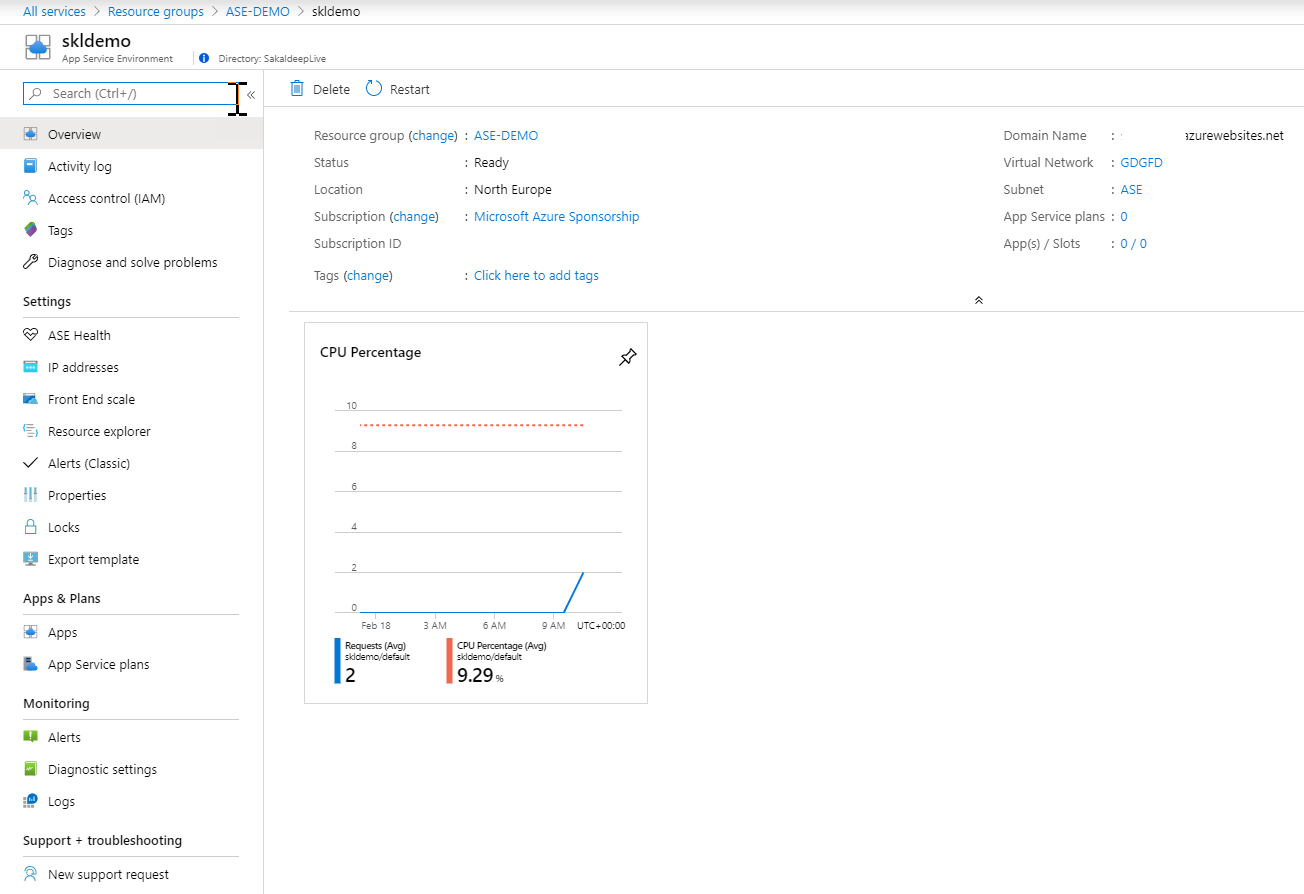
7. Now create an app service plan, select ASE SKU.
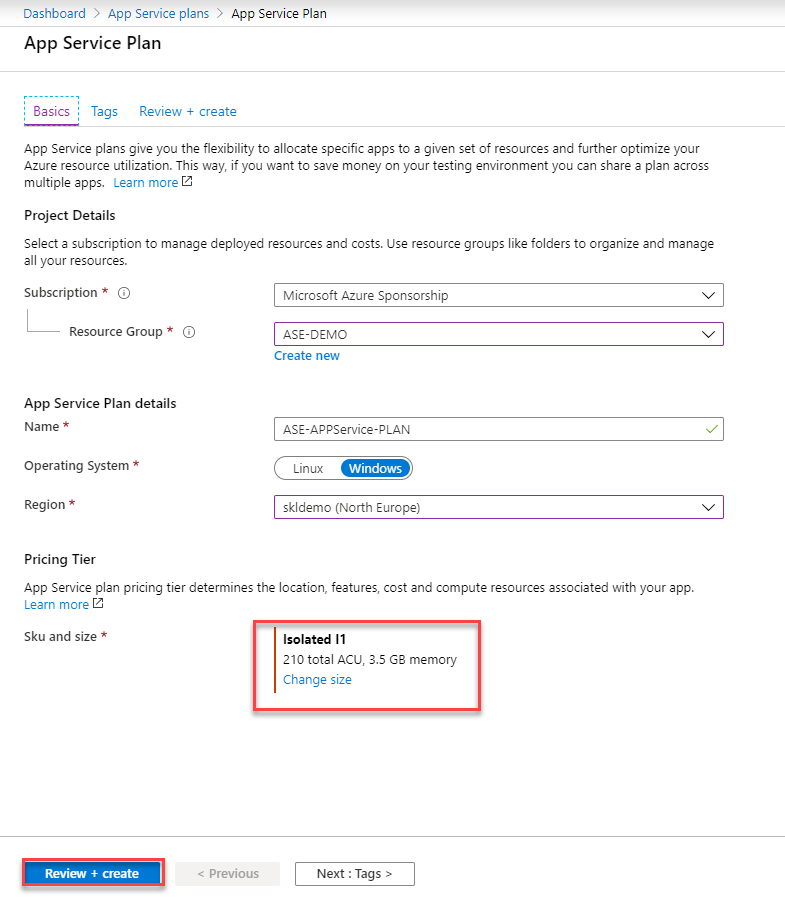
8. Create a web app, as the app service plan has created so web app creation will be similar to normal web app creation.
9. You can configure the application gateway and traffic manager against the web app as you configure for a normal web app.
Issue still have
- Very long scale-out time
- ASC
- Azure Monitor
